Jetro Romper Modification!
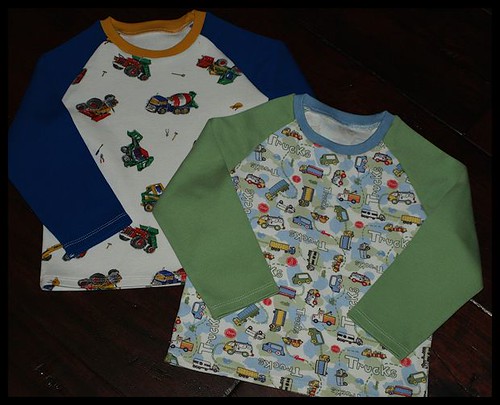
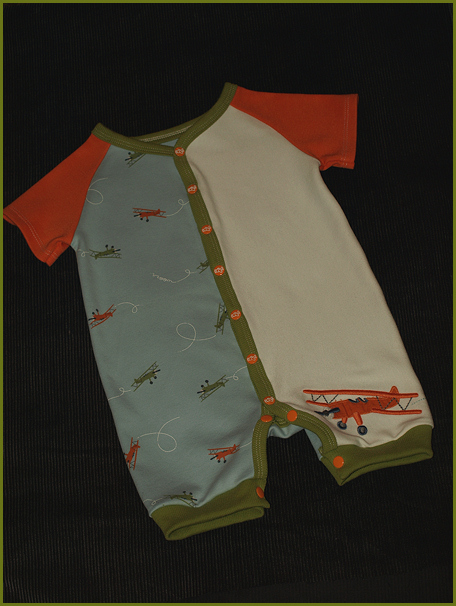
I have searched and searched for the perfect romper pattern for baby! I came very close this time with Ottobre's "Jetro" romper from the 4/2008 issue.
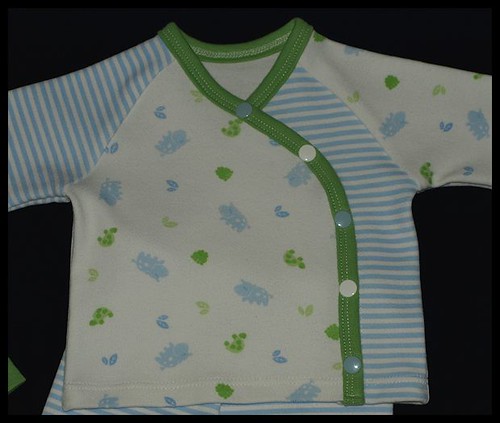
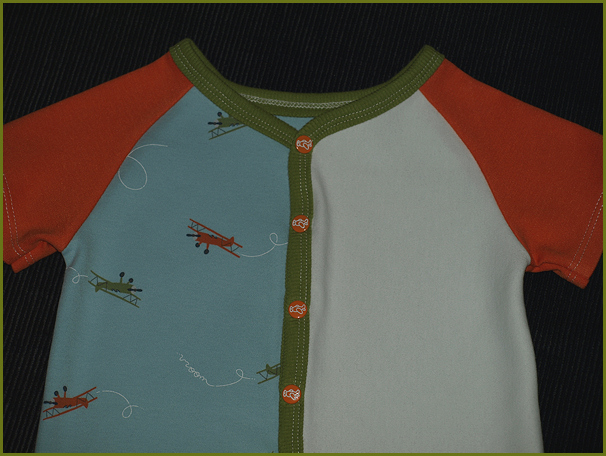
I loved that it was simple and there were snaps at the neck and diaper area. Easy to cut out and, and, and, well the good things stopped there. The "placket" they used for the neck area, was not a REAL placket, so it made the binding look either ridiculous or just plain bulky. And the idea of coverstitching binding around all of the legs and the ankle area, well that is just a pain in the you know what! My coverstitcher and I are pretty good gal pals and I had trouble going around all of the curves.
So for every problem there is a solution, here are two that I came up with. Follow these and I think you will love sewing up this romper and it will be your go to for baby!
NOTE: You will need to have the Ottobre 4/2008 issue to follow this modification tute. I did not write the pattern, it isn't mine, just modified it slightly to make it easier to sew.
Option A: Romper that snaps all the way down even through the ankle cuffs.

Option B: Romper that snaps all the way down, but not at the ankle cuffs.(MY favorite!)

Step 1: When cutting out your romper(A or B) you are going to cut 2 of the front, adding a 1/4" seam allowance to the inside of the pattern. Do NOT cut on the fold, but rather cut 2 out.
Step 3: Cut 2 cuffs out of rib knit for the ankles.
For Option A: I cut (2) 3" wide by about 10".
For Option B: I cut(2) 3" wide by about 8".
Step 4: Go ahead and put together your romper like the instructions say. First the gusset, next the shoulder seams, then sleeves and lastly the sides of the romper. NOTE: The instructions used binding for the sleeve edge. I chose to hem my sleeves for ease, but you could also add cuffs if you wanted to.
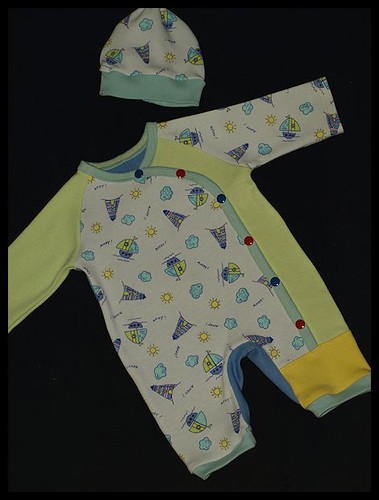
Step 5: Bind your romper. Starting at the bottom of one leg with your longer binding piece, go up, around the neck and back down the other side to the bottom of the other leg. With the smaller length of binding you will start at the back of the romper up one leg, gusset and back down the other leg.
You should then have this.
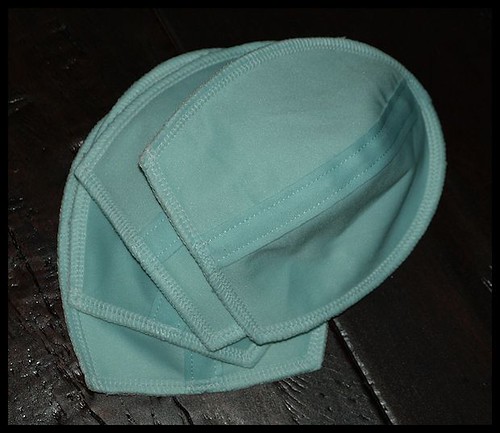
Step 6: Option A only, for Option B skip to Step 10. Take your 2 rib knits for cuffs, fold right sides together(lengthwise) and serge both ends.
Step 7: Turn cuffs out and press. I added a small square of fusible interfacing to each end and tucked it inside my cuffs for extra support for the snaps later on.
Step 8: Serge each cuff to the bottom of your romper, right sides together, flip down and then press.
Step 9: After pressing stitch a small straight stitch on your sewing machine, just to keep those pesky edges from rubbing against baby and sticking out.
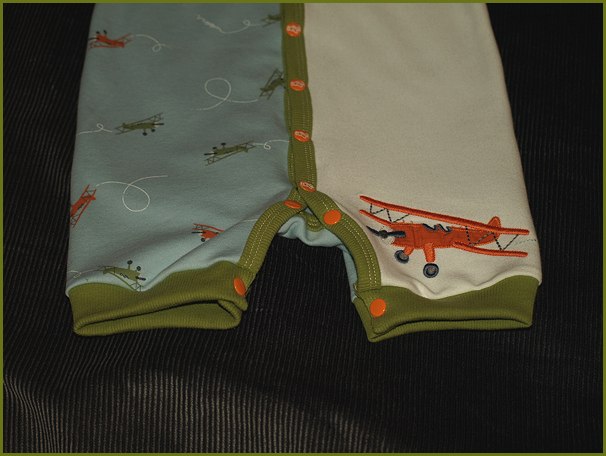
Now go ahead and add your snaps! I started at the bottom of the legs(1 snap on each leg cuff) and worked my way up. Measuring my romper and adding snaps every 2 or 2.5 inches. At the crotch where the gusset meets I like to have 3 snaps pretty close together so there is no gap there. I dislike a gappy gusset!
Step 10:For Option B only! After my bindings, I went ahead and added my snaps for Option B. I just thought it made it easier to work with the legs this way. Some may choose to add the snaps last and that would work fine too!
Step 11: Before adding the cuffs, I overlapped my bindings at the bottom and sewed a stitch to keep them together while serging. Trust me, it may be an extra step, but if your binding slides when serging it's not pretty!
Step 12: Now serge your cuff ends together and then add your cuffs right sides together to the bottom of your romper. Just like you would a sleeve cuff. Pulling your ribbing gently, but not your fabric.
Step 13: Flip down and press! Your done!!
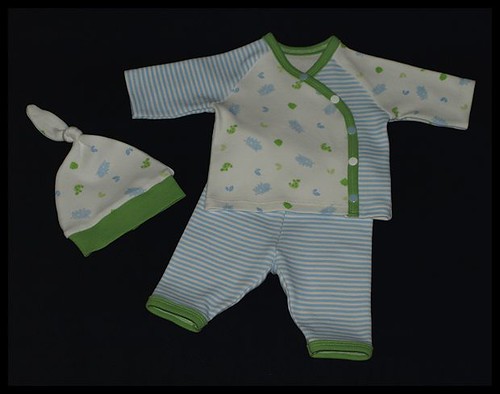
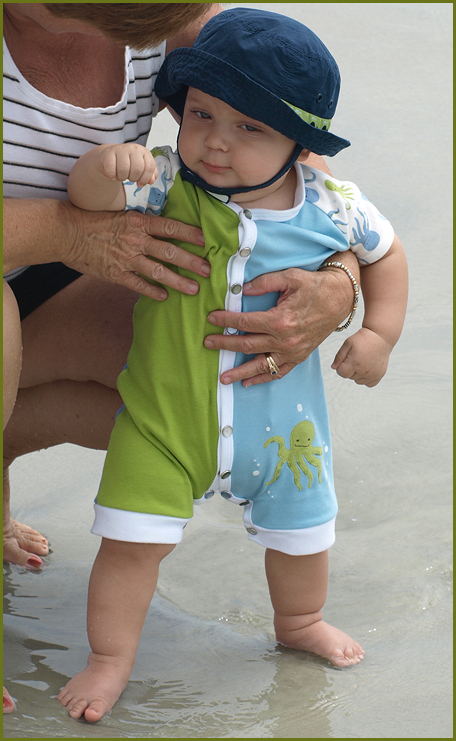
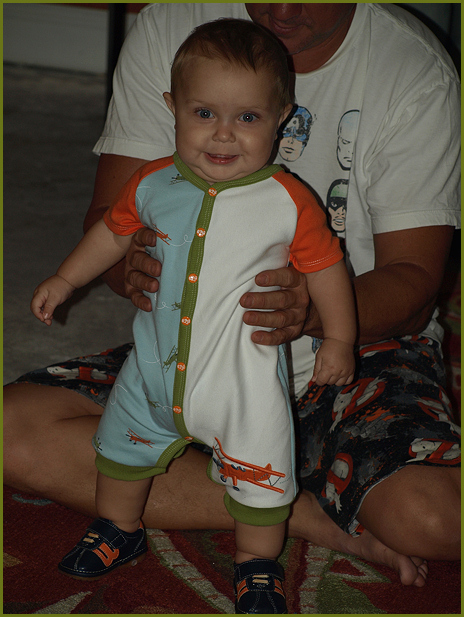
Now add your precious baby and you have a happy romper for the both of you!! These have both been baby tested and they work great for diaper changes!! I think Option B is a little less time consuming and was just as easy to take on and off as Option A.
I hope this will help! Happy Sewing!!